Easing into ROS — A Beginner’s Journey.

Author: Deeparaj Annamalai
The whole point of the blog is to break the entry barrier in getting started with ROS. It is going to be a series of blog posts walking through my learning experience.
What is the whole point of the blog?
- The main aim of the blog is to get your first hello world program in ROS.
- I strongly suggest you to read the links provided once you get the code up and running.
How should you follow along?
- I strongly believe that the only way to break into ROS is getting your hands dirty. Initially, it will be difficult to follow but later you will appreciate that you started by implementing.
- ROS is very well documented, throughout the blog I will be giving you links from where you can read more about the topic that we are discussing.
- There won’t be too much technical jargon. As I am a beginner, I will make it as relatable as possible.
- I will give a link to my github repo where I have all the codes used in this blog.
What is ROS?
- ROS (Robot operating system).
- ROS is a middleware that runs on top of an OS. The new versions of ROS support Windows, ROS mainly runs on Unix-based systems like ubuntu, OS X. However the community is supporting fedora, Gentoo, Arch Linux, and other Linux platforms.
- It is an open-source framework that lets you build on other people’s work so that you need not reinvent the wheel again and again. The main goal of ROS is to support code reuse and accelerate research in the process. Companies use ROS for product development as well.
- ROS is a distributed framework of processes (aka Nodes), you can write executables for individual processes. Then they can then be formed into packages and stacks, which can be easily shared and distributed(A bird eye view of ROS).
- ROS supports python, C++, C which are more in regular use.
System configuration
- We are going to see ROS 1 in this blog, ROS 2 is new and unstable, once you get the hang of ROS 1 you can try ROS 2.
- In this blog, I am using ROS kinetic which runs on top of ubuntu 16, which is one of the older versions of ROS1.
- Follow this link to setup ROS-kinetic in your system.
- My system is dual booted with Ubuntu 18 and Windows so,I am using KVM visualizer to run Ubuntu 16 on top of Ubuntu 18.04.
- I am using ROS kinetic over melodic as there is more community support for ROS-kinetic and the packages that we are going to use works better in ROS-kinetic.
- If you have only a windows system, it is advisable to dual boot your system, for this particular tutorial you can set up a VM or use docker.
- If you are familiar with docker follow this blog to set up docker.
- If you don’t want to use VM or docker then you can use the ROS development studio which is online.
What are we going to do?
- First I would take you through the code implementation, let us try to understand intuitively what is happening, and then in the latter part of the blog, we shall look into the working of the code.
- We are going to run a publisher and subscriber node, where the publisher is going to publish some information and the subscriber is going to subscribe to that information and display it on the terminal. Later after implementing, we shall see the core concepts used to implement the code.
Let us implement it…
- Let us first get the code up and running, and then read on to know more about how the code works.
Step 1: We are creating a folder and making it into ROS worskpace and then we build it.
$ echo "source /opt/ros/kinetic/setup.bash" >> ~/.bashrc
- By executing the above command, ROS environment variables are automatically added to your bash session every time a new shell is launched so that you need not type that command every time you open a new shell. Otherwise, you will have to run “source /opt/ros/kinetic/setup.bash” every time you open a shell.
$ mkdir -p /any_name_ws/src
- This command creates a parent folder named “any_name_workspace” and a subfolder named “src” inside this parent folder.
$ cd /any_name_ws/src
- By executing the above command, we are changing the directory to “any_name_ws/src”.
$ catkin_init_workspace
- The above command initializes catkin_workspace(It is a build system used in ROS).
$ cd ../ #Make sure that you are in /any_name_ws before running catkin_make
- The above command brings you back to the folder “any_name_ws”.
$ catkin_make
- The above command compiles and builds the codes and its dependencies.
Step 2: Cloning the GitHub repo and building the code. (This applies to any ROS package that you want to install)
$ echo "source /any_name_ws/devel/setup.bash" >> ~/.bashrc
- The first command, adds the command to add environment variables to the bashrc file so that you need not source every time you open a shell.Otherwise, you will have to run “
source /any_name_ws/devel/setup.bash” every time you open a new shell.
$ cd /src #Make sure that you are in /any_name_ws/src
- The second command is to change the current working directory to /any_name_ws/src.
$ git clone https://github.com/Deeparaj-24/mypkg
- The third command downloads the file named mypkg from my repository and stores it in /src on your local system. This step applies whenever you want to install a package.
$ cd ../ #Make sure that you are in directory /any_name_ws
- Fifth command is to change the current working directory to /any_name_ws , in order to run catkin_make.
$ catkin_make
- The sixth command compiles and builds the codes and its dependencies.
Step 3.1: Run publisher.
- Open a new shell and run, the following command.
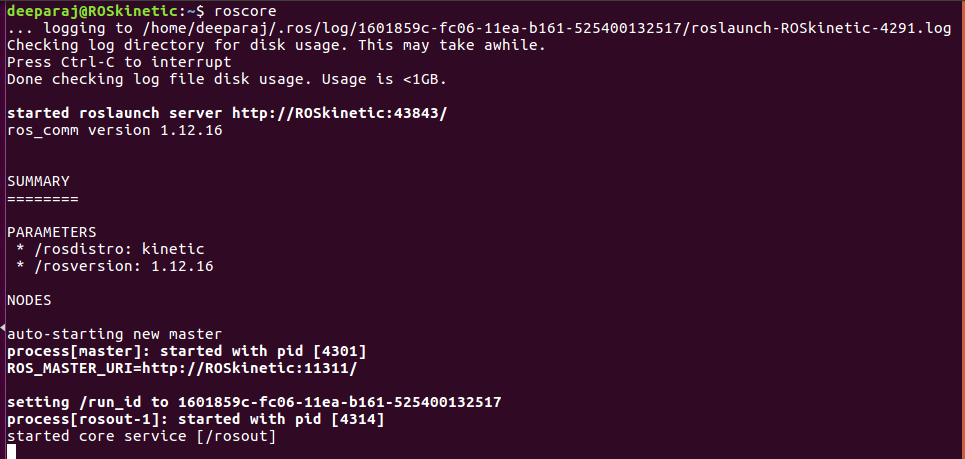
$ roscore
- Go to the /src/mypkg/scripts
$ cd /src/mypkg/scripts
- Change the file permissions to executables.
$ chmod +x
- Now open a new shell and run the publisher. If it runs correctly, you won’t see any outputs.
$ rosrun mypkg task0_pub.py

This shows the output after running publisher script.
Step 3.2: Run subscriber.
- Run the following command to run the subscriber that will display the message published by the publisher.
$ rosrun mypkg task0_sub.py
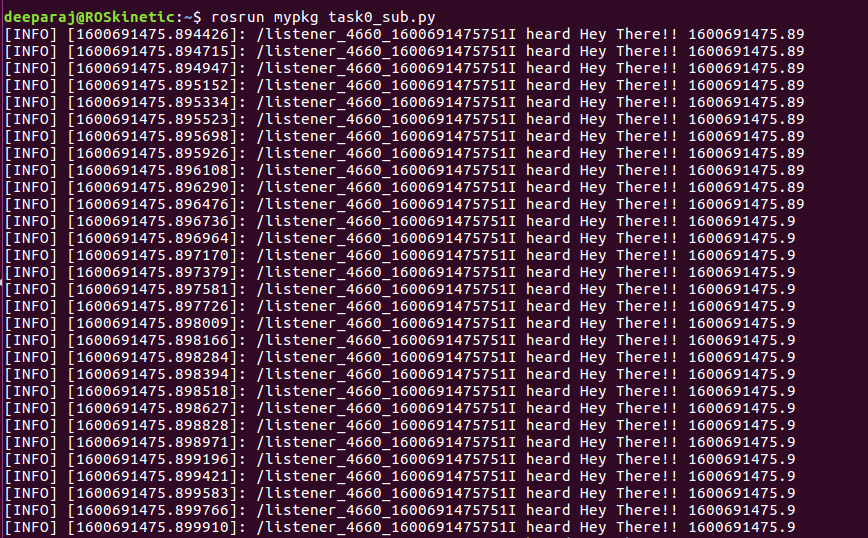
- The above output shows the string “I heard Hey There!! 1600xxxx”. That was published by the publisher. 1600xxx is the timestamp of ROS(More details in the next section).
Step 3.3: Inspecting the topics and messages that are being published.
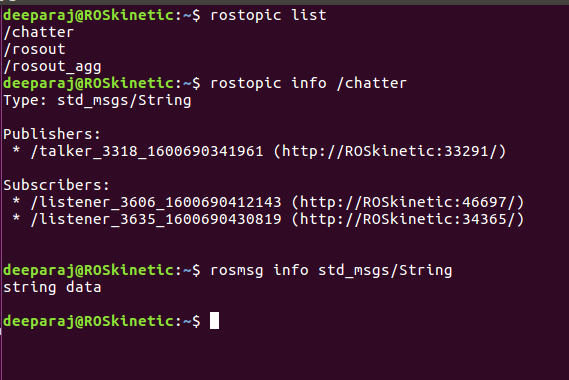
While subscriber and publisher are running in the background run the commands in the picture, this will help you to understand the upcoming contents.

This shows the contents of the topic /chatter, the subscriber basically reads from this topic and prints it.
$ rqt_graph #This command shows a pictorial representation of the topic and the nodes related to them.
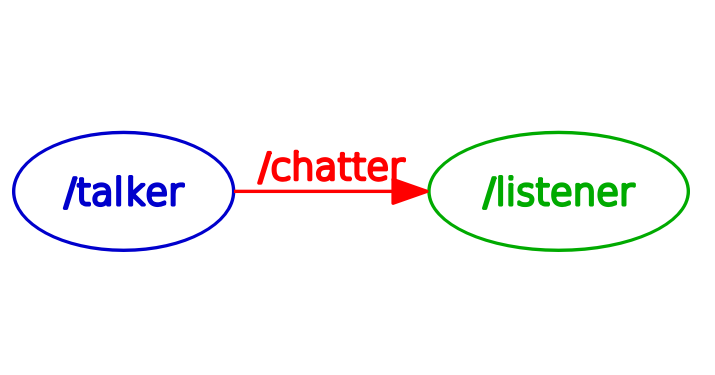
Core concepts :
- I have provided simple explanations but if you need more information just follow the links that I have attached.
- roscore: It is the collection of nodes and programs that are base for a ROS system, communications between nodes are possible when roscore is running.
- Nodes: A ros node is nothing but an executable file within a ROS package. It uses client libraries such as rospy(python), roscpp(C++) to communicate with other nodes.(Once we see the code you will understand it better.)
- Topics: Nodes are the ones that publish information or subscribe to information. This information is contained in a topic that is identified by it name /topic_name. Nodes access this information by using client libraries.
- Messages: For publisher and subscriber to communicate it needs to use the same message type(string here). The message type is analogous to data types in programming languages. The difference is that in ROS we can make custom messages according to our applications.
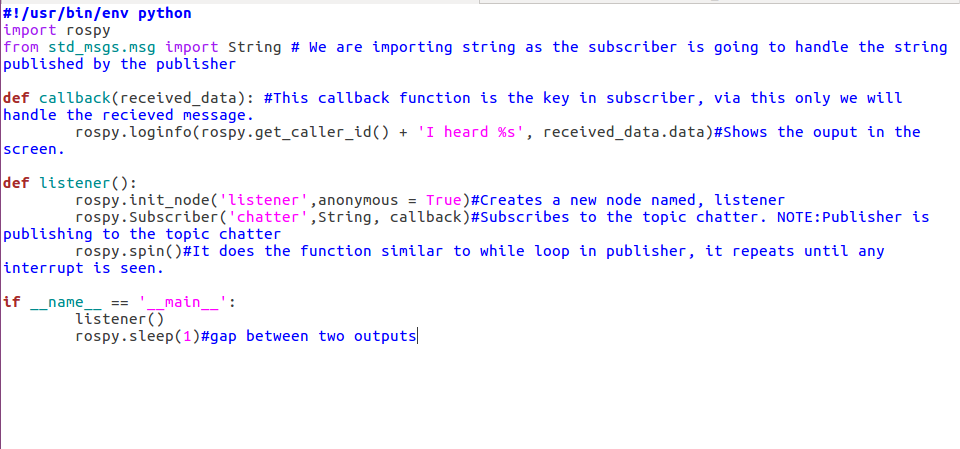
Let us take a look at the code:
- By taking a look at the concepts and comments, try to understand how the code works, it will be pretty intuitive.
- See this link for line by line explanation.
This shows the publisher script that was executed earlier in this blog.
- All the comments explains the functions that each line is taking care of.
What next?
- We have barely scratched the surface, as I have already mentioned, ros is very well documented, go on, read the links attached, and implement the tutorials and experiment with them.
- For understanding a use case, let us imagine that you have a robot and it has joints. These joint positions are being published on a topic. With the help of a subscriber, we can know the position of the joints, or we can publish a joint value to a particular topic and move the robot. This hello world program gives you an intuition about how this ROS works.
- Check out roswiki tutorials for more examples, you will be able to make sense of it quite easily as you have already seen how this works.
If you run into errors you can mail me, I will reply as soon as I can.
Disclaimer
RobotoAI Technologies only supports the bloggers to post their content and the users are always requested to contact the responsible person only.
One Response